

Table of Contents
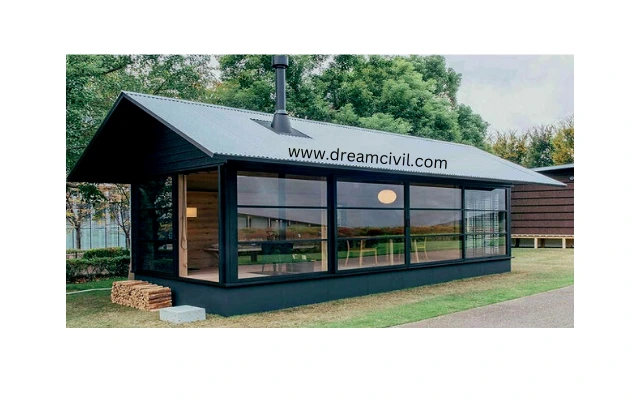
Tiny Homes are movable or non-movable homes constructed in a small area ( generally 80 to 400 sq. ft ) and consist of almost all essential parts ( like toilet, kitchen, bedroom ) required in an ideal home.
✔ Tiny homes may be movable or non-movable. The area of these homes may vary between 80 to 400 sq. ft.
✔ Movable tiny home can be taken from one place to another by attaching it to the vehicle.
✔ On average, a tiny home costs around 150$ per sq. foot.

1. Price of Tiny Homes
 Admiring the materials used, the price of the tiny homes seems to be low. It all depends upon the quality of materials used to build. The reasonable average price ranges from 30000$-60000$, and it can go up to 150000$ depending upon your expenses.
✔ The tiny house builders’ reported that tiny rectangular homes are the most cost-efficient and cheapest.
✔ On average, a tiny home costs around 150$ per sq. foot.
✔ Here is the descriptive table:
| Area | Approximate cost |
| 100 square feet | 15000$ |
| 225 square feet( average,for sale) | 33750$ |
| 400 square feet ( Maximum ) | 60000$ |
✔ The internal utilities used in the tiny home can easily lead up the tiny house price to 100000$. The utilities are a dishwasher, oven, AC, washing machine, dryer, television, electrical equipment, lighting, fridge, decoration flowers and pots, carpets and bed sheets, couch, etc, and many other utilities.
✔ It is funny, but the price of utilities in a tiny house equals the cost of the house itself.
2. Price of Different Materials Used In Making Tiny Homes
Price of different materials used in making tiny homes are listed below:
| Item | Price Range |
| Windows | $500-$6,000 |
| Trailer | $3,500 to $5,500 |
| Metal roofing | $500 to $2,000 |
| Lumber | $1,000 to $5,000 |
| Siding | $1,000 to $2,500 |
| Insulation | $500 to $3000 |
| Interior finishes | $500-$4,000 |
| Electrical | $750 to $3,000 |
| Paint | $50 to $200 |
| Fasteners/Adhesives | $1,500 |
| Flooring | $300 to $1,000 |
| Interior wall | $500 to $1000 |
| Appliances | $400 to $4,000 |
| Fixtures | $1,000-$5,000 |
| Toilet | $20-$800 |
| HVAC | $500 to $1,500 |
| Water heater | $500 to $1000 |
| Shower | $400 to $1,000 |
3. Materials Used
1. Tiny house trailer

✓ To move the house from one place to another or to support the superstructural parts.
✓ Estimated Costs:
20-foot trailer: $2,800
24-foot trailer: $3,000
30-foot trailer: $4,500
2. Jack Stand

✓ To make the house part stable when it is to be settled in a place.
✓ Estimated Costs: 100$ to 300$
3. Wood
✓ To build the walls along with interior and exterior furniture elements like bed racks, fittings etc.
4. Insulation
✓ XPS board, spray form, house wraps, etc., can be used in building the insulation as the roof is usually metallic and the walls are thin.
5. Roofing

✓ Normally, metallic or fiber, or plastic roofing materials are utilized in roofing.
6. Hardware
✓ Screws, nails, bolts, staples, etc., are the commonly used hardware items.
5. Strapping and Flashing
✓ These are the materials like straight straps, h clips, nail plates, and flashing that help to prevent the leakage from joints
6. Millwork
✓ Millwork is the woodwork that is to be done at the mill.
7. Electrical

✓ Wiring, fitting switches, maintaining cable networks, telephone wires, etc.
8. Plumbing

✓ Plumbing works like fixing kitchen sink, shower fitting, water heater, etc.
9. Flooring

✓ Hardwood flooring, marble and tile flooring, mortar things, etc.
10. Painting
✓ Painting and decorating the house.
4. Types of Tiny Homes
There are two types of tiny homes. They are:
a. Movable Tiny Homes
They are built upon a trailer and can be easily transported from one place to another.
✓ The maximum height of the tiny movable homes: 13.5 feet from the ground
✓ The most common height of the trailer: 20-24 inches from the ground
✓ The maximum width of the tiny movable homes: 8 feet
✓ The maximum length of the tiny movable homes: 43 feet
✓ Can we put the wood-burning stove in the tiny movable homes?: yes(most common)
✓ The maximum weight movable tiny homes can bear: 9000 lbs(4082.331 kg)
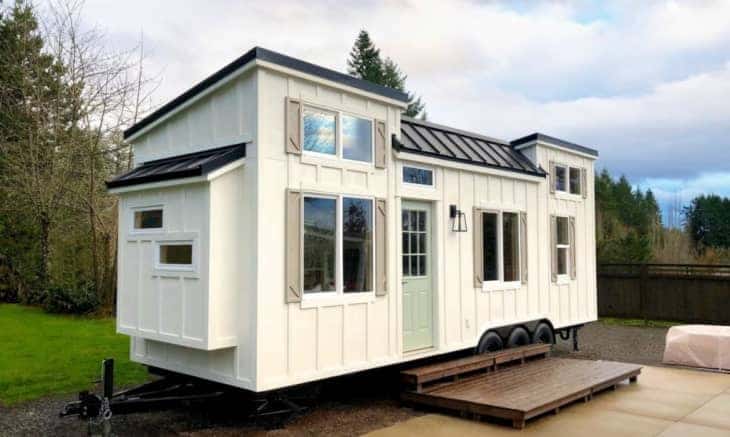
✓ Most loved color for tiny movable homes: Lighter, neutral, and earthy tones
✓ Colours that can make your home look bigger: off-white, light yellow, or grey
✓ Colours that can give your home a cottage or beach look: Light blue and Cream Colour

b. Non-Movable Tiny Homes
They are built up upon land with the foundation rooted on earth.
The difference between average houses and non-movable tiny houses in the area, building process, and building materials.
✓ The maximum width of the non-movable tiny homes: As required.
✓ The maximum length of the non-movable tiny homes: As required.
✓ The maximum area of the non-movable tiny homes: 400 sq. ft
✓ Can we put the wood-burning stove in the non-movable tiny homes: yes(most common)
✓ Most loved color for the non-movable tiny homes: Lighter, neutral, and earthy tones
✓ Colours that can make your house look bigger: Off-white, light yellow, or grey
✓ Colours that can give your home a cottage or beach look: Light blue and cream colour
5. Power and Sanitation
I think this is the most faced problem by people building tiny homes.
How to power tiny homes? How to manage Sanitation? Here we will look at the most common method of power and Sanitation.
a. Power:
✓ The very first option is the use of solar energy. It is the most common means of energy in tiny homes. It also gives you the freedom to travel if you are building
✓ And secondly, have a connection from the house near you.
✓ Lastly, the option is to join the tiny house villages. It may be hard to find a tiny village, or it may not satisfy our living. But today, in many countries like german, USA and New Zealand, tiny house villages are famous.
b. Sanitation
✓ The first and most popular option is using a composting toilet. Most tiny homes manage the composting toilet, which is connected to a plastic box. When the plastic box is filled, it is cleaned by hiring sanitary agencies.
The plastic bag is also utilized in place of the plastic box.
✓ In the case of non-movable tiny homes, toilet waste can be directly disposed of in the sanitary sewer near your home.

6. Advantages of the Tiny Homes
Some of the advantages of tiny homes are as follows:
✓ Cost-Efficient: The average cost to build a tiny home is 45000$, whereas an average single-family home in the USA is 298000$(2021).
✓ Lower expense: Tiny home means tiny expenses. Your cleaning, electricity, and many other expenses are automatically reduced.
✓ No Mortgage: It has been reported that 68% of all tiny homeowners build their homes free of mortgage, whereas, in average homes, it is just 29%.
✓ Freedom of movement: As tiny homes can be built on trailers, you can travel to different places with your home.
✓ Ease of maintenance: Tiny homes are easier to maintain as they are energy efficient, tiny, and usually separated from crowded places.
✓ A simpler life: The main aim of stepping into a tiny home is to have a simple life, get free from materialistic goals, and care for oneself.
✓ Harmony with nature: It is beneficial for both environment and us.
7. Disadvantages of Tiny Homes
✓ Limited space: In a tiny home, the space is limited, so you must compromise many things. Although if you like cooking, you cannot have a large kitchen or if you are a gamer, you cannot make a large gaming setup.
✓ Limited entertaining capability: As there is less space, the tiny home is not suitable for family gatherings or friend meetings.
✓ Not suitable for urban: People usually find it hard to build tiny homes in large crowds, especially where there are tall buildings.
✓ Risk in transport: It has been found that many tiny houses are destroyed yearly during transportation.
✓ Complex mortgage system: We cannot get a simple mortgage loan. We must go through the standard mortgage loan, usually of higher interest.
✓ Zoning rule: Tiny home covers less space, usually between 80-400 square feet. But it is not possible to get land on rent that is that small to cover the need for tiny houses. So we have to rent the whole land on lease, which may be a little higher on our expenses.
8. Tiny Homes Construction & Checklist
The steps involved in the construction of tiny homes are:
a. Planning & Plan Making
✓ Size of tiny homes depends upon your requirements. If your requirements are high, then the area required will be high, and vice versa.
Material selection directly influences your budget. If high-quality materials are used, the construction cost will be automatically high.
You need around 150$ per sq. ft. if you use medium-quality materials.
✓ Also, a higher area means higher construction costs.
✓ After finalizing the area of the home & quality of materials to be used, plan-making work is carried out.
b. Construction Based On Plan
The construction step involves:
TINY HOME TRAILER
- Site selection: Select the site on which you want to construct your tiny home.
- Leveling: Setting up a Tiny Home on Jack Stands to prevent movement.
- Remove decking
- Cut off extras
- Weld on anchors: Process of anchoring the tiny home to the house trailer.
TINY HOME FOUNDATION
- Build a foundation frame ( choose based on load )
- Anchor the foundation to the trailer
- Attach metal flashing
- Add insulation
- Add vapor barrier
- Install subfloor
TINY HOME WALL FRAMING
- Frame the walls as per the design
- Ensure squareness by using a sound level
- Test fit windows
- Sheathe your tiny home walls
- Raise walls as per height, square and brace them properly
- Secure framing to the trailer with anchors
TINY HOUSE SHEATHING
- Measure & plan the layout
- Cut all the pieces
- Allow for a 1/8″ expansion gap (during hot ) between sheets of plywood
- Test the sheets fitting
- Apply glue to all the studs
- Tack the sheets in place with a few nails (It is best to use screws)
- Screw every 3″ on the edges of the panels
- Screw every 6″ into studs covered as per design
- Anchor the plywood to the foundation after the walls are raised up
WINDOWS AND DOOR OPENINGS WORK

- Double-check the window dimensions (Give an extra safety allowance)
- Cut out the window holes using a plunge router
- Apply house Tyvek or Typar or wrap (WRB)
- Cut the house wrap using an inverted “Y.”
- Test the fitting of windows
- Install the windows correctly and shim
- Tack with screws for better strength
- Secure the windows per the manufacturer’s recommendations
- Flash windows should be at the bottom and work upwards
- The bottom edge should be left unsealed for water drainage
ROOF FRAMING OF TINY HOME

(If building the Fencl tiny home design, first install loft collar ties and flooring)
- Construct trusses as per design and requirements
- Make sure to tie into wall framing with Hurricane Ties
- Ensure that total height stays under 13.5 feet from the floor
- Build headers for rough opening for the skylight
ROOF SHEATHING
- Cut boards and Glue truss edges as per requirement
- Use “H” clips between sheets
- Secure with ring shank nails and screws
SKYLIGHTS INSTALLATION
- Build frame (For curb mounted; there’s no need to frame with deck mounted)
- Test fit skylight
- Install skylight as per design
- Flash according to directions
DOOR(S) INSTALLATION

- Frame in the door frame as per home-plan
- Test the door to the frame
- Secure the door to the frame properly
- Install the door hardware like handle, door stopper, etc
SIDING INSTALLATION
- Tape the house wrap seams
- Install the furring strips
- Paint BOTH sides of the siding before putting up
- Hang the siding
TRIM WORK (OUTSIDE)
- Install fascia boards
- Install drip edge
ROOF INSTALLATION
- Apply ice & water shield to protect the home from weathering agencies
- Install reflection barrier
- Install the furring strips
- Install roof per requirements
PLUMBING LAYOUT & INSTALLATION
- Plan outlets, inlets, etc.
- Check for trailer cross beams under the trailer
- Account for vents if needed and for “P” traps
- The provision of proper slope should be made for adequate drain function
- Leakage may be seen if the plumbing is not done correctly. Leakage may degrade furniture, electrical appliances and other parts of the home. So strongly recommend hiring professionals.
ELECTRICAL LAYOUT & INSTALLATION

- Plan out locations of outlets, lights, fridges, AC, heater, fans, sockets, etc.
- Plan locations for smoke and carbon monoxide alarms to prevent big firing problems
- Consider your power usage.
GAS LINES LAYOUT & INSTALLATION
- Plan out locations needed
- Gas leakage may be seen if not installed gas lines properly. So strongly recommend hiring professionals.
ROUGH HVAC ( Heating, Ventilation & Air Conditioning )
- Plan out locations needed
- Hire professionals for this work
INSULATE
- Install insulation to improve heat and sound insulation inside the home.
- Apply Foam on the corner/edges
- Install vapor barrier ( 6 mm thick )
- Ensure your materials and fasteners that come in contact with Foam are okay (some react)
INSTALL MAJOR APPLIANCES

- Install Water heater
- Install Fridge
- Install Shower
- Install Room Heater or Cooler
FLOOR FINISHING
- Follow directions
- Cover with a finishing layer (it should be waterproof & durable )
WALLS FINISHING
- Hang wall panels on their position
- Trim around lights and edges
KITCHEN FINISHING
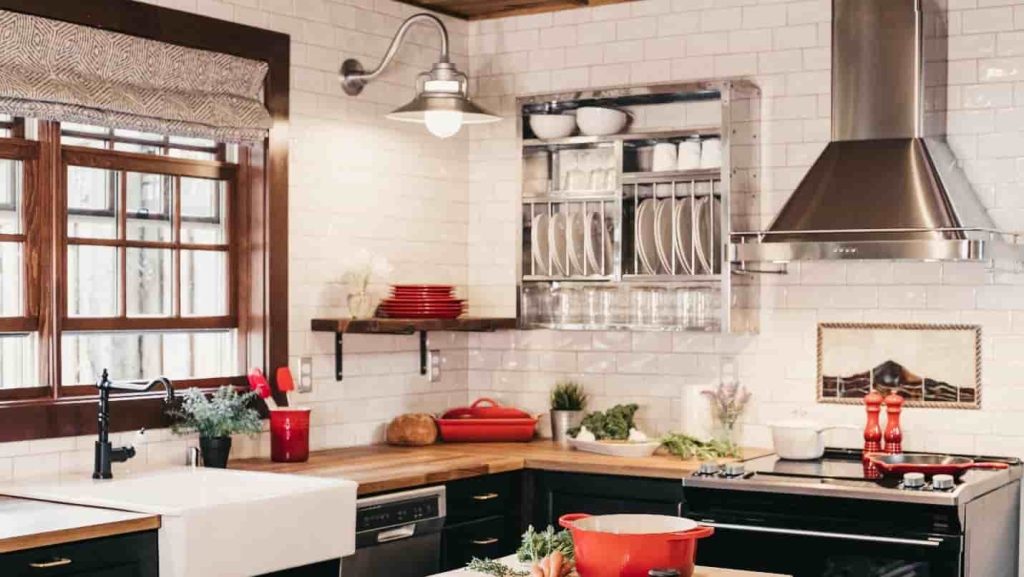
- Locate parts as per the design
- Construct a rough frame for cabinets and countertops as per the requirement
- Install countertop
- Drop in the stove and connect it to the gas cylinder or pipe
- Drop in the sink and connect to the outlet pipe
- Build and install cabinet doors
- Build shelves
BATHROOM FINISHING

- Plan out locations needed for the layout
- Finishing of Shower stall connections
- Finishing bathroom walls with waterproof materials
- Finishing bathroom storage work
- Connect toilet (or build composting toilet unit)
- Install vent (proper circulation of air and light is vital )
SLEEPING LOFT FINISHING
- Install any additional storage if required
- Wire in lights and outlets as per requirements
MAIN ROOM FINISHING
- Finish HVAC
- Finish the work like wire lights and outlets
- Build any built-in units as per the requirement
- Finish storage
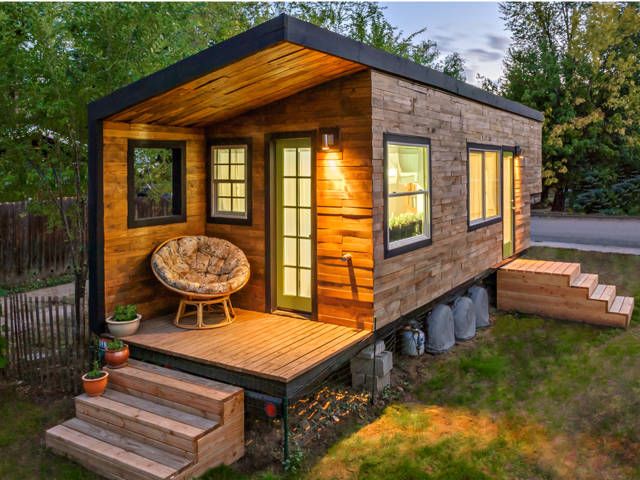
9. Tiny Homes Designs
Design: 1

Design: 2
Source: country living magazine
Design: 3

Source: Blog To
Design: 4

Source: Acorn Tiny Homes
Design: 5
Source: Apartment Therapy
10. References
1. Content Filter & Authenticity Checking Team, Dream Civil International (Our team checks every content & detail to maintain quality. ) |