Table of Contents
In this article, we will discuss how to calibrate the paint thickness gauge.
Paint can be defined as a pigmented liquid with a liquefiable nature that substrates into a thin layer and converts to a solid film upon application.
The primary objective of paint is to protect, impart color and provide texture to the surface where it is applied.
In other words, paint can be understood as the substance that is commonly used as the final finish to the surfaces of the structures for protecting or decorating the surface.
The base, vehicle, thinner, and pigments are the main components of paint.
Paint is basically a pigmented opaque material i.e. it can hide the surface to which it is applied.
A wide variety of paints with various formulae are used all over the world.
The most common types of paint formulae available in the market are oil-based formulae and water-based formulae.
Paint is also available in a wide variety of colors.
It is basically stored and applied as a liquid but eventually dries into a solid after application.
It is a combination of pigments with appropriate thinners or oil.
It is usually applied to the surface by spraying or brushing.
It is used as a protective covering to prevent corrosion, chemical attacks, and other weathering effects.
It is also used to enhance the aesthetic appearance of the structure.
All paints are not suitable for all conditions. For different conditions, different types of paints are desirable.

1. How To Calibrate The Paint Thickness Gauge?
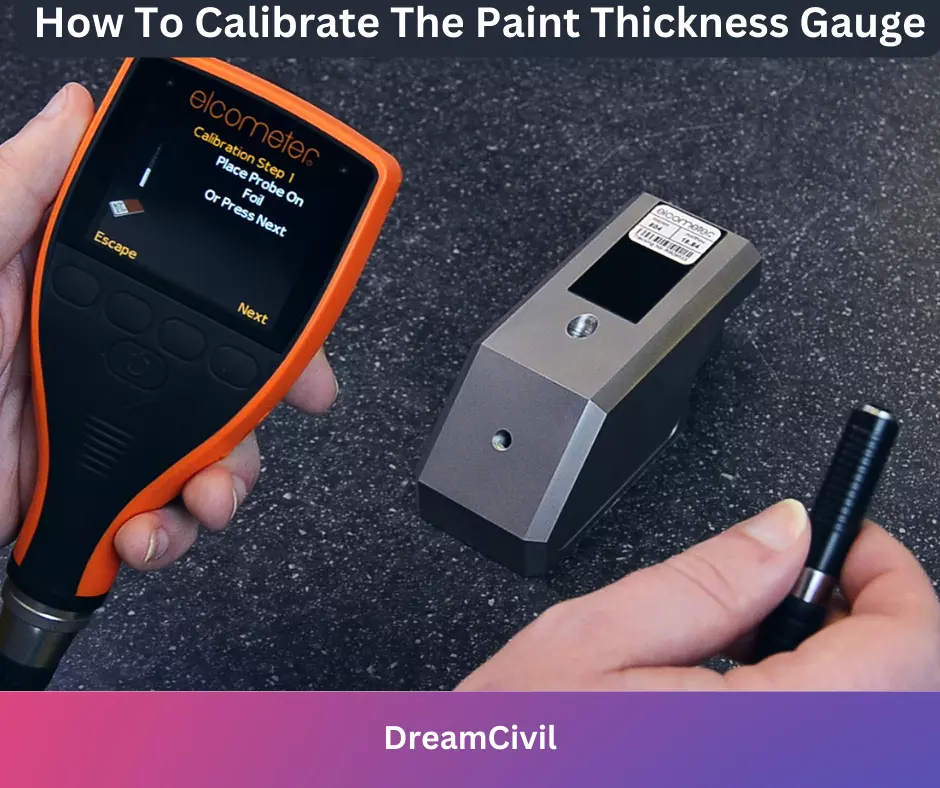
The Paint Thickness Gauge has been developed to facilitate the calibration process for gauge users. Calibration is needed before each usage of the gauge.
a. Step 1
To calibrate the gauge, first, confirm that it is indicated in a direction parallel to the surface of the substrate. Employ a smooth surface material, such as glass or stainless steel, for the most promising results.
Putting one foil face down on the surface is calculated as placing another face up (so that both foils are at 90° angles). Confirm that they are positioned with their edges perpendicular (i.e., not at an angle).
b. Step 2
Apply pressure equally on both foils until they touch or ‘run out of metal between them (this should take approximately 20 seconds for a standard 10 mm thick metal film). Do not apply pressure to only one foil, as this may cause unpredictable readings and invalidate all subsequent readings.
c. Step 3
Release the pressure and stay for the foil to return to its original shape (this will take around 30 seconds). The gauge should now read nil. If this is not the case, you need to again repeat steps 1-3 and then retest.
2. Conclusion
The thickness gauge is an uncomplicated sample of equipment, delivered to you following the calibration procedures accurately. You can employ the Auto Calibration function, which will drive the gauge through the entire process, or be more specific by using one of the standard approaches. If you are any suspicion about how to calibrate your gauge, it is advisable to reach an Elcometer representative.

Hope you got an idea of how to calibrate the paint thickness gauge.
| Read Also: Testing of Sewer |

