Table of Contents
Embarking on a DIY home extension is an exciting journey that can transform your living space and add significant value to your property. It’s a project that requires careful planning, a bit of know-how, and the right supplies. Let’s walk through the essential steps of structurally planning a DIY home extension, ensuring your project looks great and is safe and sound.
How to Structurally Plan a DIY Home Extension
a. Understanding Local Building Codes and Regulations
✔ Before you start dreaming about your new space, it’s vital to understand the local building codes and regulations. These rules dictate what you can and cannot do to the structure, design, and materials.
✔ Ensure you have the necessary permits and understand the guidelines for property lines, height restrictions, and other regulations. This step is crucial in avoiding legal complications and ensuring the safety of your extension.
b. Drafting a Solid Plan
✔ Start by drafting a detailed plan for your extension. Consider factors like the extension’s purpose, the amount of space needed, and how it will integrate with the existing structure of your home. It’s here you should think about materials. For a project like this, quality builder supplies are a necessity.
✔ Whether it’s for framing, roofing, or interior finishes, choosing high-quality materials will ensure the longevity and safety of your extension. Reliable suppliers can provide the necessary materials to get your project off the ground.
c. Laying a Strong Foundation
✔ The foundation is the backbone of your extension. Depending on your extension’s size and type, you might need a concrete slab, crawl space, or full basement. This stage requires precision and knowledge about load-bearing structures.
✔ Don’t hesitate to consult a professional to ensure your foundation is up to code and capable of supporting the additional weight.
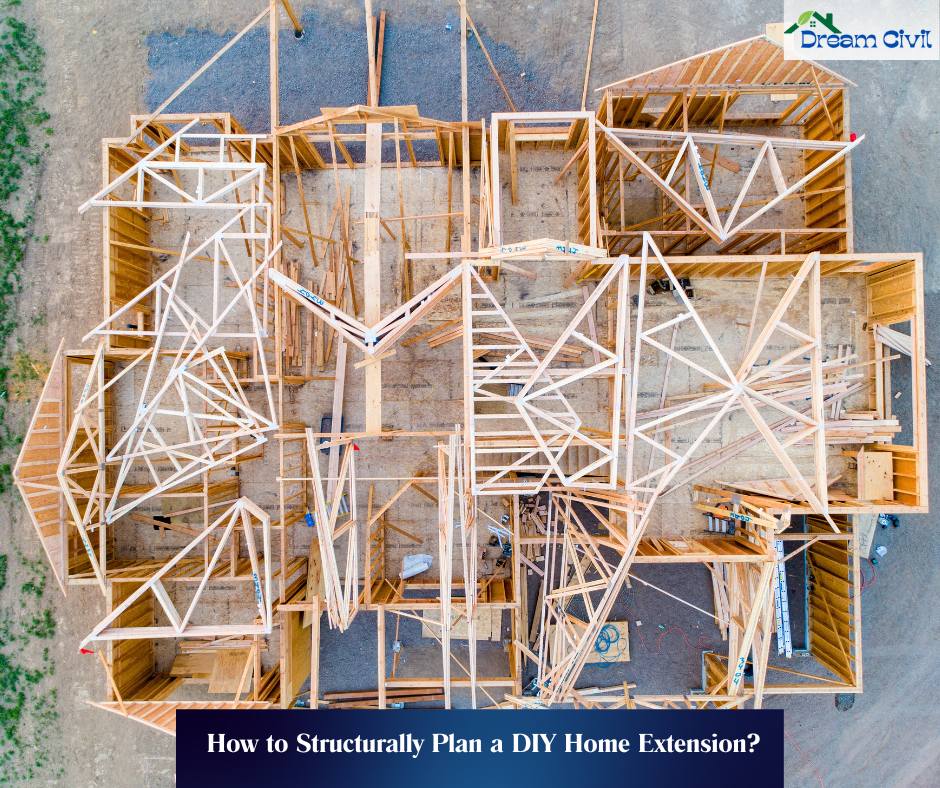
d. Framing and Structural Integrity
✔ Once your foundation is set, the next step is framing. That’s where your extension starts to take shape. Use quality lumber – available at many quality builder supplies – and ensure all framing is done according to your plan and building codes.
✔ The framing stage is not just about putting up walls; it’s about ensuring the structural integrity of the extension. Every beam, joist, and support is critical to the structure’s overall stability.
e. Roofing and Weatherproofing
✔ Your extension’s roof should seamlessly integrate with your existing roofline. It’s not just about aesthetics but also about ensuring no leaks or weak points. Once the roof is on, focus on weatherproofing your extension. That includes installing insulation, vapor barriers, and proper ventilation systems.
f. Interior and Exterior Finishing
✔ Now comes the part where your extension resembles your home. Interior and exterior finishing includes everything from drywall and paint to siding and trim. That’s where those quality supplies make a difference. The correct materials can enhance both the appearance and efficiency of your extension.
g. Electrical, Plumbing, and HVAC
✔ If your extension includes a bathroom, kitchen, or heating/cooling elements, you must plan for electrical, plumbing, and HVAC systems. These systems must be integrated into the existing structure of your home. This stage often requires professional help to ensure everything is up to code and functioning correctly.
✔ A DIY home extension is a significant project that can add immense value and space to your home. By understanding the local regulations, using quality materials, and taking the time to plan each stage carefully, you can create an area that is both beautiful and functional.
✔ A successful DIY project is not just about saving money; it’s about the satisfaction of building something lasting and valuable for your home.
| Read Also: Timbercrete |

