Table of Contents
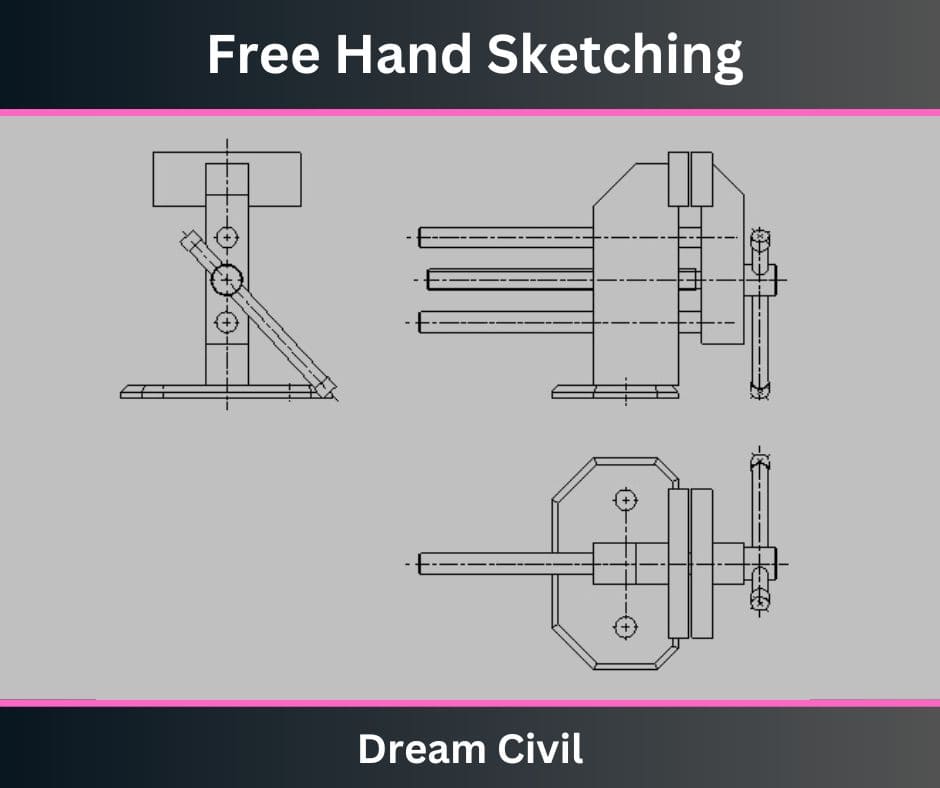
Free Hand Sketching is done to share and communicate the vision of an engineer’s conceptual world to the real world in 2D and 3D.
It is employed for everyday communication in the engineering world as drawing is the global language of engineering.
Freehand drawing is even to fastly deliver an idea in a graphical form to non-technical manpower.
It enhances the communication between all the crew of a group and also between the user.
Free Hand Sketching is a drawing that is sketched without estimating instruments.
This drawing is sketched with the use of a pencil and eraser only.
Such drawing is sketched before every type of essential drawing because it takes a shorter time.
After making such a sketch, it is considered over, and fundamental alterations are completed to it if required. Then only real drawing is constructed.
1. Free Hand Sketching Instruments
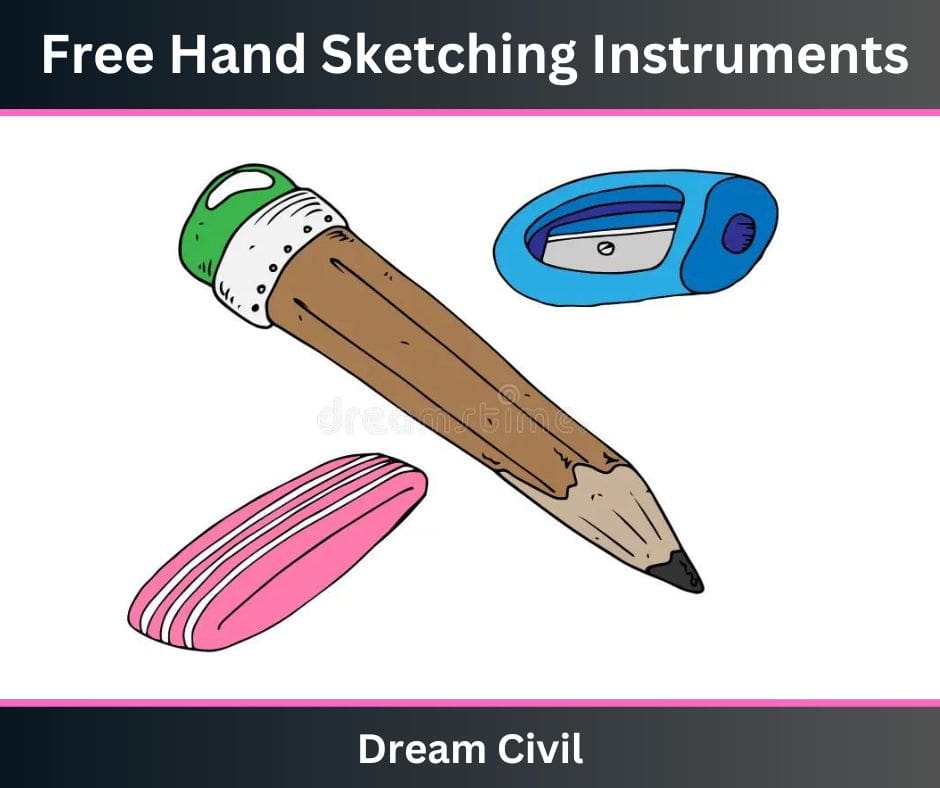
The following instruments are required for the sketch of the free hand are as follows:
1. Soft Lead Pencil
2. Eraser
3. Sharpener
4. Drawing Sheet
5. Graph Sheet
2. Importance of Free Hand Sketching
Freehand drawing owns much significance in practical work because a draftsman needs to study the drawings of every object from the engineer.
At the inspecting of full drawings, much time is wasted on the alterations, if needed.
Since less time is needed for freehand drawing, therefore, initially such drawing should be depended upon.
3. Principles of Free Hand Sketching
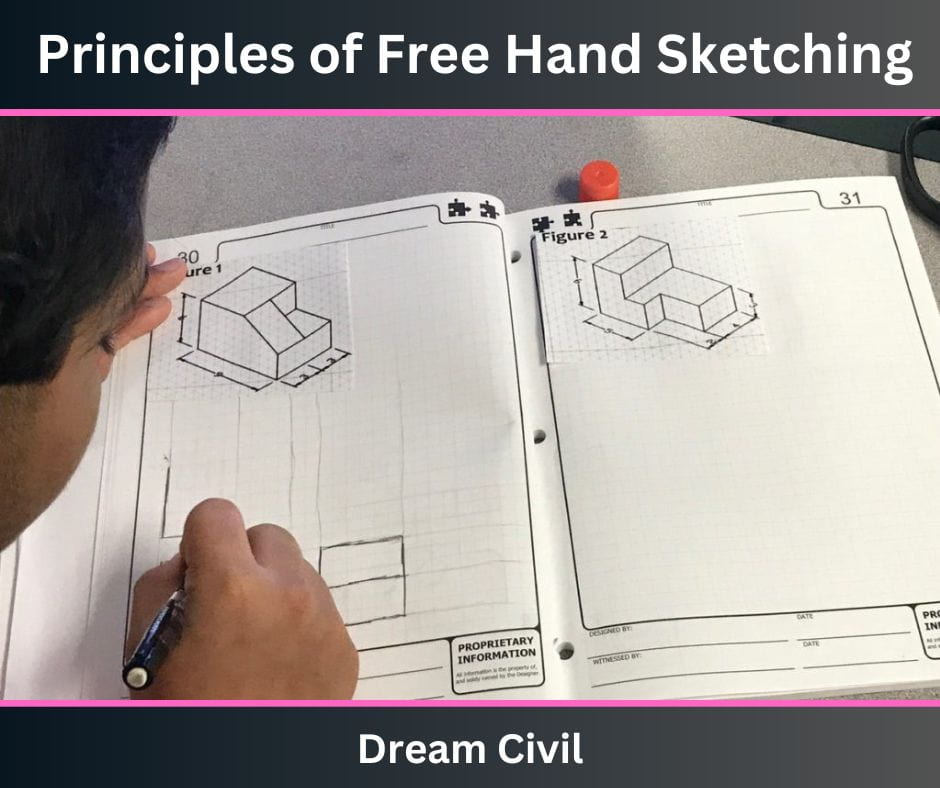
Here are the principles of free-hand sketching mentioned below:
1. The object should be seen entirely and pondered over its objectives and concepts.
2. More detailed aspect is thought for the choice of a view.
3. Space is determined on a drawing sheet according to the sizes of views.
4. Firstly, the dim lines are drawn so that extra lines may be erased easily.
5. Scale and ruler are not used in drawing, although, the ratio and proportion of different parts of an object are considered.
6. First, horizontal lines are drawn then vertical lines are drawn, and arcs and circles are drawn lastly.
4. Sketching of Lines in Free Hand Drawing
a. Sketching of Straight Lines
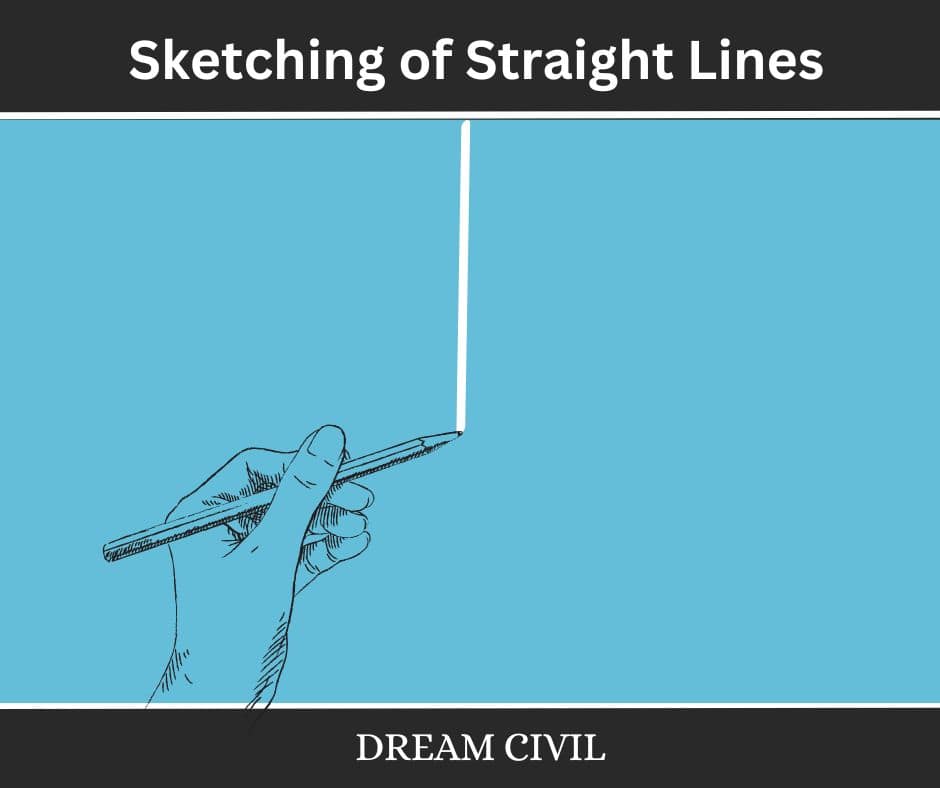
The line is the major part of the free-hand drawing as sketching is performed with various lines. Straight lines can be separated into various lines such as oblique, horizontal, and vertical lines. Constructing a straight line for the first time is challenging work.
Largely outcome in curved and arcs. This occurs due to the forearm when staying in a fixed place.
So, when constructing a straight line, driving your forearm is critical. When drawing horizontal straight lines. The distance between your hand and the pencil tip should be 40 mm minimum, and your hand should lie on the edge of the paper.
Straight lines are sketched with the thumb and index fingers. The most significant aspect of sketching straight lines is that your action should be in undisturbed way.
You can also construct oblique lines by just adjusting the position of your arm. The most straightforward method to draw long straight lines is by sketching short lines and then combining them. By accomplishing this, there will be a small to no possibility of mistakes.
i. Sketching of Vertical Lines
A vertical line is constructed from the top to the bottom of the drawing sheet.
It carries a lot of practice to construct vertical lines.
However, you can sketch vertical lines employing the edge of a piece of paper as a guide and your hand as a scale.
ii. Sketching of Horizontal Lines.
When drawing horizontal lines, your both hand and forearm should bend at the elbow, and the edge of your hand should slide horizontally on the paper.
When drawing a horizontal line, you should first attempt drawing a line in the air to see how the line moves.
Then involve a slight pressure on the pencil tip and sketch a horizontal line lightly.
iii. Sketching of Oblique Lines
The oblique lines are sketched from one corner of the page to the other diagonally.
Mostly, right-handed people sketch sloping or oblique lines from the base left to the top right of the paper.
However, sketching can be completed much more comfortably by just turning the paper into a place where you are moving to sketch an oblique line.
b. Sketching of Rectangles
A rectangle is a standard shape in technical drawings. To sketch rectangles through free hand sketching various methods are employed.
They can be sketched in many ways, but the easiest method to construct a rectangle is by sketching vertical or horizontal lines and turning the paper at 90 degrees angle.

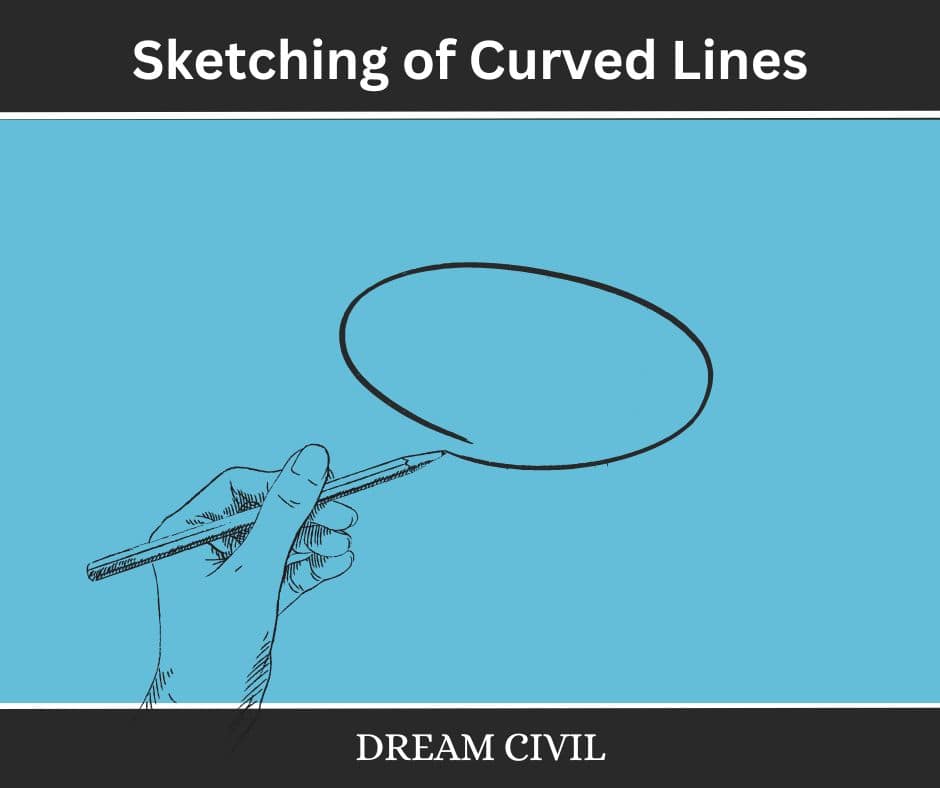
c. Sketching of Curved Lines
Curved lines in the sketch can be arcs, circles, etc.
To sketch a circle, first of all, you must construct a center line and mark it with radii.
Shape the radii points into a box, inside which you can sketch a circle.
First of all, draw the top-left part of the circle (turn the pencil in an anti-clockwise order) then sketch the bottom-right part of the circle (turn the pencil in a clockwise order).
5. References1. Content Filter & Authenticity Checking Team, Dream Civil International (Our team checks every content & detail to maintain quality.) |
Read Also: Difference between Ceramic and Vitrified Tiles

