

Table of Contents
In this article, we will discuss wall texture.
1. Introduction
Wall textures are provided to the wall to give a special effect that increases the aesthetic beauty and helps to hide the defects present on the wall. Everybody wants an attractive house with a good appearance and wall texture. Here is the list of the best wall textures you can try in your home. For this work, skilled manpower is needed.
Wall textures are majorly utilized to finish interior wall surfaces and hide taped drywall seams along with other defects.
2. Types of Wall Texture
Knowing the appropriate wall texture is essential when designing a functional space. For example, suppose you want to transform a room in your home for your online selling business with the help of professionals from Dimension Shopfitters and other similar companies. In that case, choosing the right wall texture can help you create an aesthetically pleasing space.
Generally, there are different types of wall textures that you can consider for your home project. These can include:
a. Sand Swirl Wall Texture
This style of texturing is effortless to do by utilizing a compound known as perlite and a 7-inch-wide paintbrush. The primer with sand mixed into it is known as perlite. Support the paintbrush by the base, as this will provide you more control than holding the handle.
Immerse the brush an inch into the perlite, giving it a wipe on either side of the bucket to remove loose drips. Practice making a swirl pattern on a spare piece of drywall before moving it onto your wall.
Utilizing the brush, start at the very top of the wall, preparing a big loop with an open bottom. Each row of this swirl pattern should conceal the bottom of the previous row.
Apply swirls to a 5-foot section, immersing the brush into the paint after every swirl, then return to your beginning point and drop down one row. Go on working your way around the room until finished, then let it dry. After a 24-hour drying period, you can start the process of priming and painting the walls.

b. Slap Brush Wall Texture
The slap brush texture makes a random pattern of thin lines on your walls that provides an eccentric flair to any room. This type of wall texture might be a great selection if you aren’t familiar with a spray gun.
For this style, you just need a roller, a double crow’s foot drywall texture brush known as a slap brush, and a drywall compound. Blend your compound with water until it results in a thick paint consistency, then use it evenly on the wall with the help of a roller. Complete two 5-foot-wide areas before picking up the slap brush.
Put drywall compound to each side of the slap brush in a very thin coating, and then start slapping the first area of the wall with the help of a brush. There shouldn’t be any unique pattern to the texture. Blend it up by rotating the angle of the slap brush in the air between slaps.
Once the first area is finished, roll the next 5-foot area of the wall, then use the slap brushing to that area. Follow the same procedure until you have finished the room. After 24 hours of drying, you can now apply the prime and paint the room without any problem.
c. Slap Brush Knockdown Wall Texture
A slap brush knockdown texture is the combination of the slap brush technique with the flattening step of the knockdown texture to make a random pattern of flatter, wider lines, instead of peaked, thin lines.
To put this texture, you will just require a roller, slap brush, knockdown knife, and drywall compound. Utilizing the slap brush style, work your way around the room until each wall is evenly covered in a slap brush texture.
For smaller rooms, wait for 10 to 15 minutes before starting to knock down the peaks with the help of the knockdown knife. As with the knockdown technique, if you start too early a line caused by the edge of the knife will be seen in the wall texture. Don’t continue if this happens, and take another five to 10 minutes before moving on. For larger rooms, you can start knocking down the peaks in the slap brush texture quickly.
Once the peaks on every wall have been demolished, the walls can be left to dry for 24 hours before starting the procedure of painting.
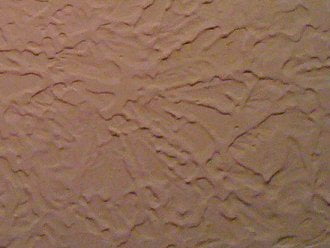
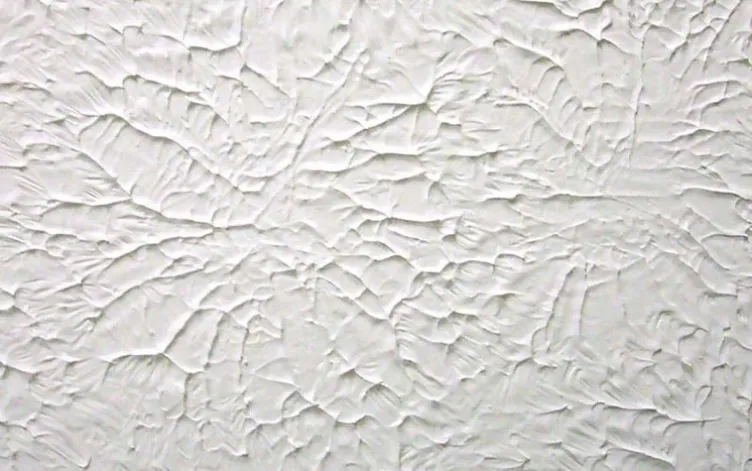
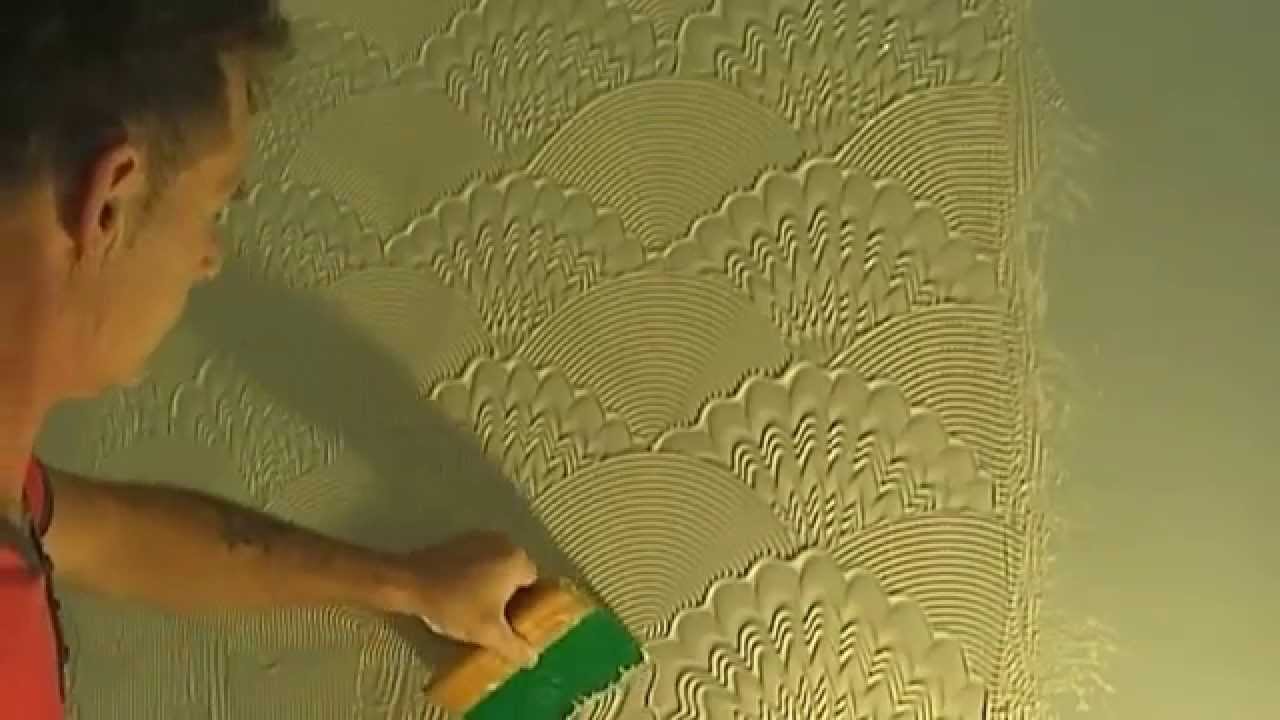
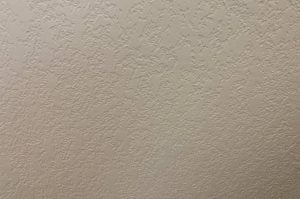
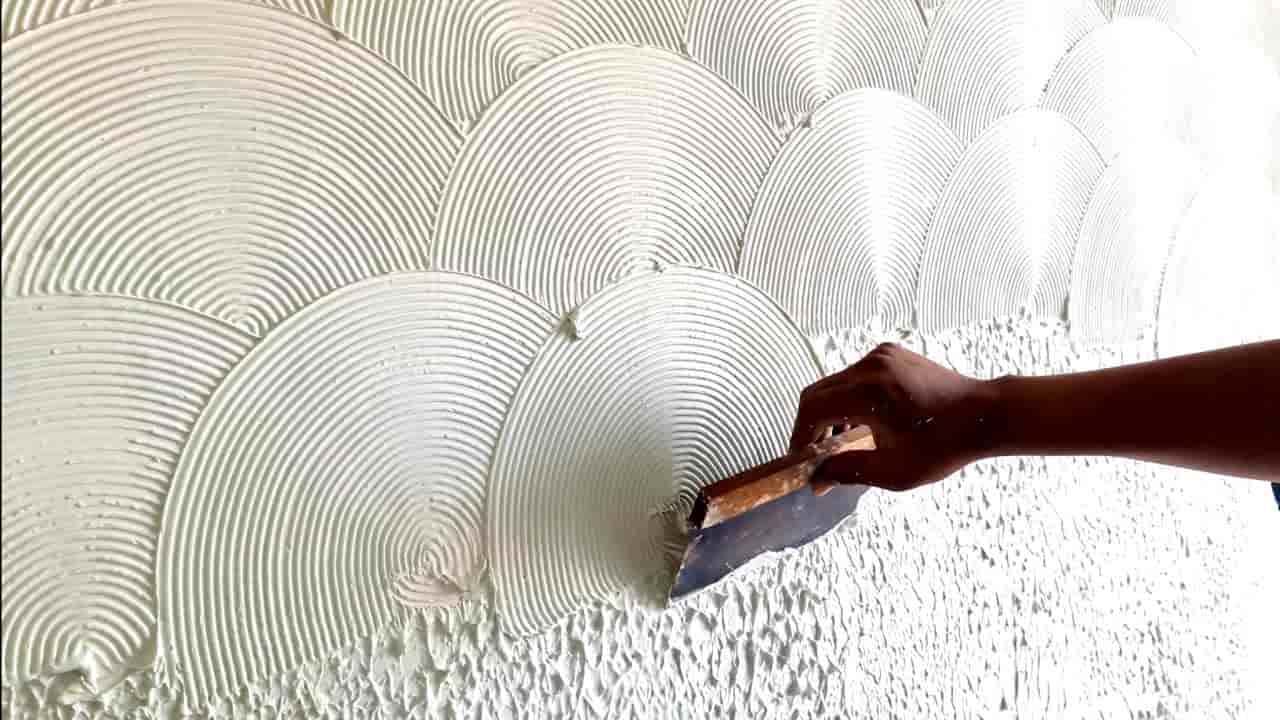
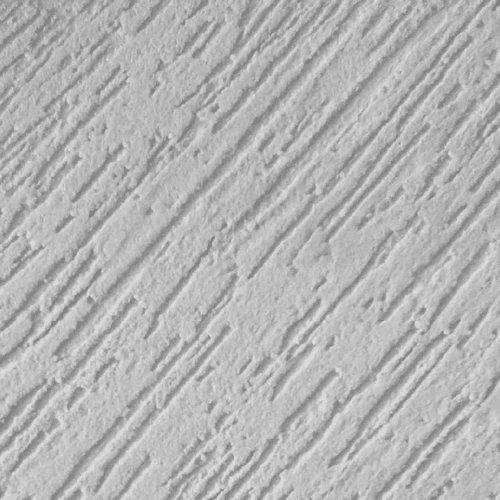
d. Comb Wall Texture
The comb texture is prepared by utilizing techniques that make lines of different widths and shapes in the drywall compounds. This technique is usually utilized to produce a number of series of rainbow patterns on the drywall and is one of the more simplistic texturing styles that you can try.
This method needs a drywall compound, a roller, and a drywall trowel that has evenly spaced teeth or uneven teeth if you are going for a less organized pattern. Use the drywall compound to the wall utilizing the roller, then utilize the teeth of the trowel to slowly provides lines in the wet compound.
If you want perfect concentric circles, practice your artistic skills on a spare piece of drywall before trying it on your wall. Let the texture dry for 24 hours before you start the work of priming and painting.
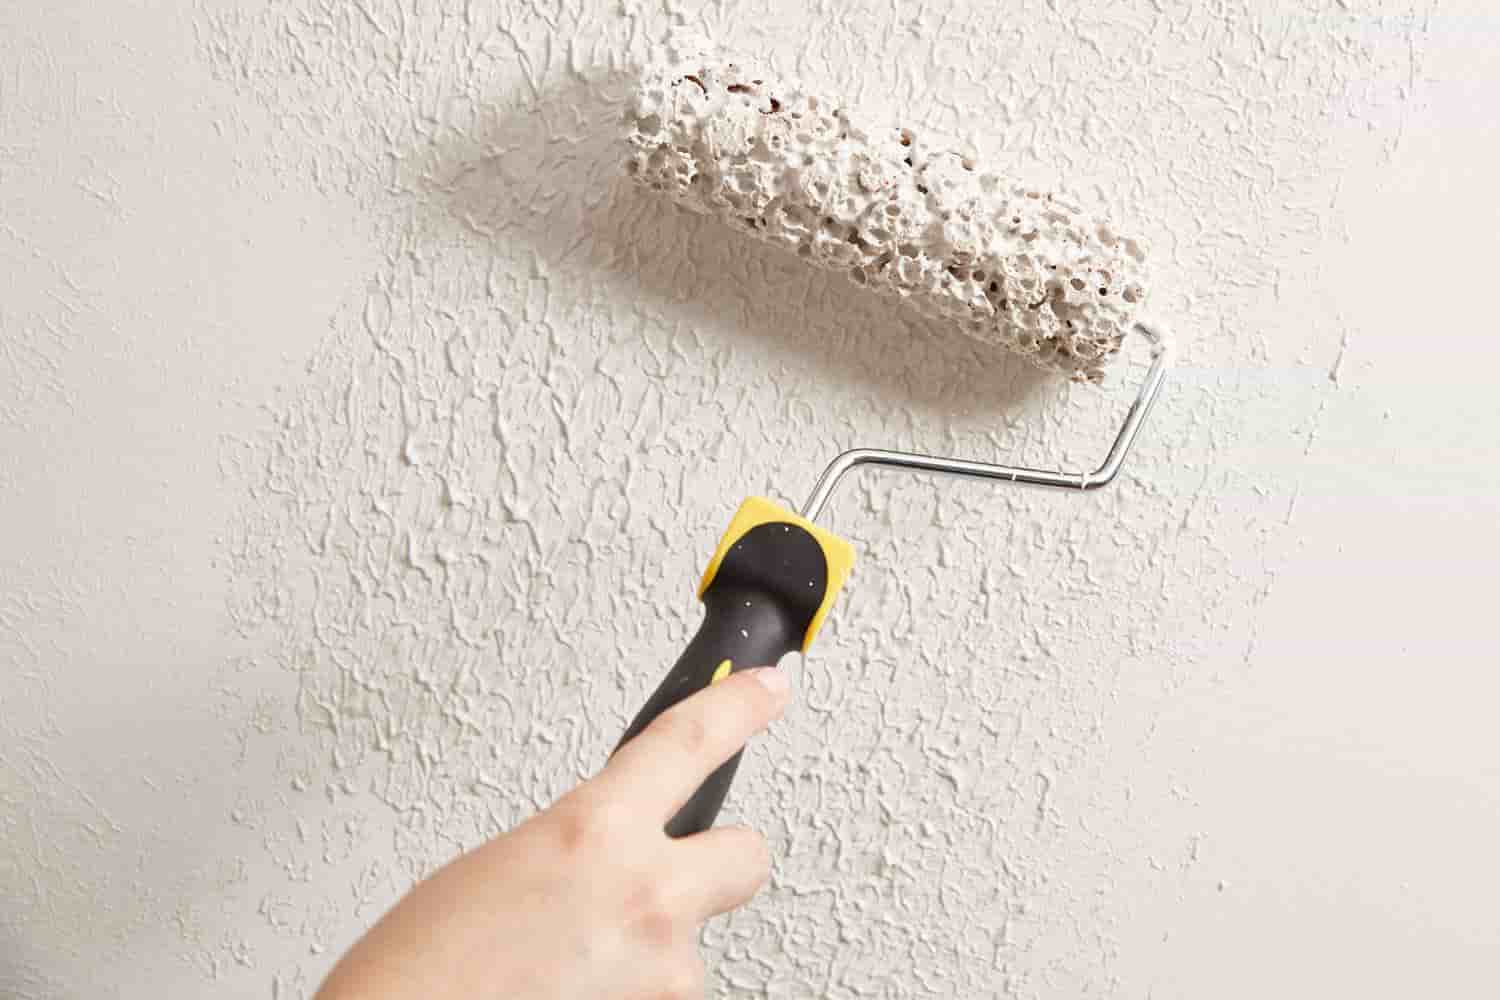
e. Orange Peel Wall Texture
An orange peel texture looks similar to its sounds it looks similar to the peel of an orange. It will require priming the walls ahead of time so that the texture has a smooth, dirt-free surface to stick to.
Lift a hopper gun with an air-adjustable valve, an air compressor, and a drywall compound. Mix the drywall compound with water until it results in the consistency of thick paint or a soupy pancake batter, then flow it into your hopper.
Spray a tiny amount from the hopper onto a test piece and adjust the air valve to look right on the spray pattern that you wish. You should be providing a small splatter of a compound onto the wall to make the desired texture but not completely covering the primed drywall below.
Try both heavy splatters and light splatters and when you have skilled manpower in the spray pattern, start to put it on the walls. After drying for 24 hours, prime and paint the textured walls you want.
f. Knockdown Wall Texture
The knockdown style makes a unique, rustic pattern, akin to stucco. Knockdown can be aimed by putting a step to the orange peel technique:
After preparing an orange peel texture to the walls, demolish the peaks and bumps that form in the drywall compound utilizing an 18-inch or wider knockdown knife.
Smaller rooms will likely need a waiting period of about 10 to 15 minutes after spraying before the peaks can start to be demolished, while a larger room can probably begin as soon as the process of spraying is completed.
Make sure to start demolishing in the same area that you start spraying. Always be careful with timing. If you start demolishing the drywall compound too quickly, the knockdown knife will leave lines from the edges of the knife.
If such a case is seen, stop the work and wait another five or 10 minutes, then start again. After demolishing all the peaks in the orange peel texture, the wall can then be left to dry for 24 hours before starting the procedure of priming and painting.
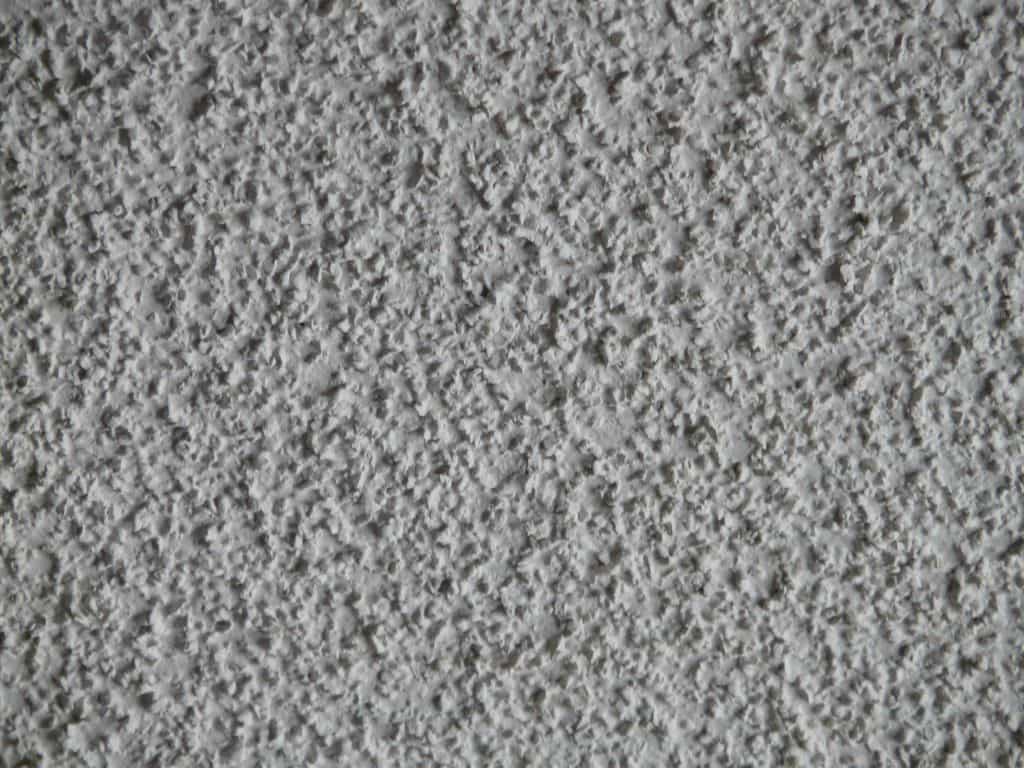
g. Popcorn Wall Texture
Popcorn ceilings are good at hiding imperfections, and defects present on the walls, and they can even help capture sound between floors and walls.
The popcorn texture is a dry mix of drywall mud and polystyrene, and it comes in a standard white color, so it’s best to prime the wall or ceiling before utilization. Blend the popcorn texture with water, following the order on the package. Make sure to securely sheath all surfaces and items that are not to be sprayed.
Once the rest of the room is fully covered, spray away. The texture can be painted any color you want after it has dried fully.
This was our list of 7 wall textures you can try in your home.
3. Other Types of Wall Texture
4. Advantages of Wall Texture
1. Easy to hide defects, cracks, nail holes, and dents.
2. Easy to apply.
3. Increases aesthetic beauty.
4. It provides a clean look.
5. You can provide your style to the wall.
5. Disadvantages of Wall Texture
1. Difficult to remove.
2. Increase the construction cost.
| Read Also: Demountable walls |